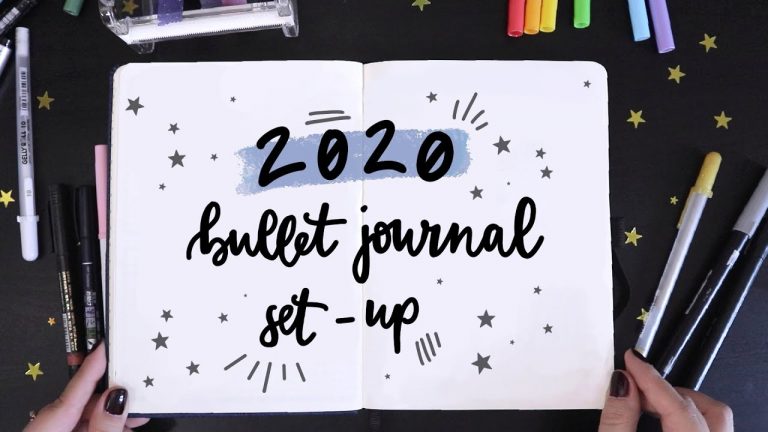
Modern Calligraphy For Beginners
Even though the world is becoming increasingly digital and writing on electronic devices is now possible with affordable tablets, modern calligraphy is spreading rapidly.
Calligraphy consists of two words: kallos (beauty) and graphein (writing). Accordingly, calligraphy is also called the art of beautiful writing.
Until the invention of typography by Johannes Gutenberg, books were written exclusively by hand by calligraphers and reproduced by “Copisti”. Letterpress printing has spread and developed further and further to our present day, where everything has been replaced by electronic software.
Despite all this, art has not disappeared – on the contrary, it has taken many wonderful, modern forms. Learning modern calligraphy is not only good for impressing friends and acquaintances but through meditative activity, writing can bring you a little closer to your inner peace.

Traditional Calligraphy vs Modern Calligraphy
Traditional calligraphy has many rules about how certain letters are formed and aligned, whereas modern calligraphy has no rules at all.
While tradition is based on the perfect appearance and skillful regularity, modernity is mainly about the imperfect to the messy.
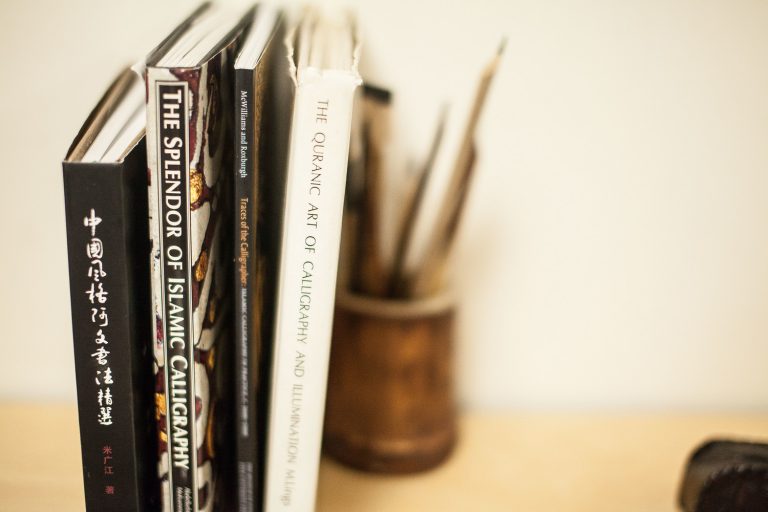
If you are interested in studying traditional calligraphy, here are some book recommendations that could help you get started:
- Mastering Copperplate Calligraphy: A Step-by-Step Manual by Eleanor Winters
- Spencerian Penmanship Theory + 5 Copybooks by P.R. Spencer
- The Calligrapher’s Bible: 100 Complete Alphabets and How To Draw Them by David Harris

Modern calligraphy is more about style, aesthetics, and feeling. If you really want to improve your writing style, then I suggest to have a look around the net and copy the writing styles of your idols to get a feeling for the art of writing.
Here’s a list of my favorites calligraphers on Instagram:
Note: I don’t want to encourage anyone here to copy other people’s work, but simply to draw on great artists in the first phase of practice in order to ultimately find their own style.
Penholder
Apart from the material of the penholder, you can choose between two types: straight, or a liqueur.
The Oblique nib pen was originally created for right-handed people, in order to have a more comfortable writing experience due to the changed angle. In the meantime, however, there are also Oblique pens for left-handers.
Which one you choose is simply a matter of taste and says nothing about whether you write modern calligraphy better or not. Personally, I find the Oblique fountain pen very pleasant and therefore use it more often.
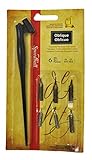
- CREATE BEAUTIFUL COPPERPLATE AND SPECERIAN SCRIPTS - Designed for...
- OBLIQUE NIB ANGLE - The 55-degree angle makes it easier to create certain...
- Formulated for sumi painting and calligraphy
- This is permanent, black ink made from quality vegetable oil soot
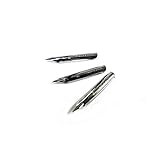
Nibs
Do you know how many pens are on the market right now? Me neither. There are lots. The only real advice I can give you is to experiment as much as you can until you find the tools you like and feel most comfortable with.

The finer the tip of the nib, the thinner the lines you can write with the nib. However, if you use very thin ink, this can be problematic and your lines are no longer visible.
As far as elasticity is concerned, a distinction is made as follows:
- Extreme elasticity
- Very high elasticity
- High elasticity
- Medium elasticity
- Low elasticity
- Hardly elastic
- Non-elastic
The higher the elasticity of the nib, the further the legs diverge under pressure. This is great if you want to write extra-thick smears.
However, elastic nibs are also particularly sensitive to incorrect/unpracticed handling and can quickly get caught.
In general, I recommend simply buying a small package of different springs and trying it out for yourself. You will usually find your favourite nib by yourself.
Prepare the nib
When buying a new nib, make sure that the nib is cleaned once before writing.
In order to protect the metal and against rust, nibs are coated with a thin layer of oil. This can cause your ink to simply roll off the nib and leave unpleasant stains on your paper.
There are two ways I usually prepare the nib before using: you can either wash the nib with soapy water and dry it well or stick the nib into a potato for about 15 minutes. After pulling the nib out of the potato you can use it immediately.
After each use, simply rinse the nib briefly in clean water and dry it well to prevent rust from forming.
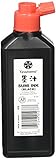
Ink
Not all inks are suitable for practicing with the pointed nib. Some inks are too thin and transparent for the fine nibs and thin hairlines cannot be written with them.
I recommend so-called China ink or also known as India ink. The inks are more viscous and lightfast. You can get the Chinese ink in well-assorted craft and hobby shops.


Paper
The paper for your feathers should be very smooth and if possible not bleed through.
But since different inks and nibs react with different papers, I can’t offer you the ultimate combination here, but you have to try out a lot yourself, what fits your needs.
For practice, I like the copy paper from Clairefontaine very much. But I have to make sure that I put pieces of scrap paper underneath it because the ink will press through and leave stains.
Otherwise, I also like to use the blocks of Rhodia and Clairefontaine, where pressing through is no problem.
For elegant sayings and gift ideas, I like to use transparent paper because it is easy to write on and looks very noble.