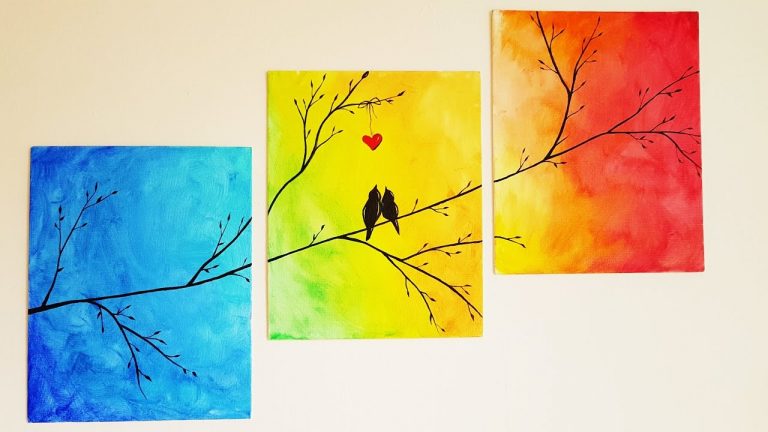
Oil Painting For Beginners – A Simple Guide For Anyone Interested In Oil Painting
Are you passionate about oil painting and would like to get started? Oil painting is a noble painting technique whose realization is not very easy. Don’t worry about it! This article will help you as a beginner to take your first steps in the practice of oil painting.
Characteristics of oil painting
Oil paint is the result of a mixture of oil and pigment and is distinguished by two criteria: gloss and drying. The gloss of oil paint is due to the presence of oil in the paint. This is what makes oil-painted works very shiny.
The other characteristic of oil painting is that it takes a long time to dry or not at all. Drying is linked to evaporation, and we know that oil is greasy and prevents this evaporation.
Thus the oil in the paint does not dry, it rather hardens and goes to the solid-state. So the oil paint does not dry but it tends to harden over time and this process is very long.

Supplies required for oil painting
Before you get started in oil painting, here’s a list of some basic supplies you will need. Don’t worry if you don’t have the budget to buy everything at once, it takes time to put together the whole kit for oil painting. Start with what you can afford for now, and worry about the more expensive items later.
1. The support
You can choose between canvas cardboard or canvas on a frame. Canvas boards are strong and durable and are also very affordable. They are stronger than sheets of paper and are not likely to take up much space.
As far as the canvas is concerned, there are cotton or linen models to choose from. Linen window cloths are stronger but more expensive. You can also choose mixed cotton and linen fabrics.
2. The brushes
There are several brushes are suitable for oil painting: synthetic brushes, hard bristle brushes, natural fiber brushes, etc. There is also a wide variety of brush shapes: fans, brushes, etc.
For a start, choose several types of brushes to test, experiment and get to know the rendering of each type. For thin coats choose soft bristle brushes, hard bristles are suitable for impasto.
3. The painting
You can choose between beginner quality and professional quality. For beginner quality, it is affordable and offers a wide choice of colors that will surely allow you to find the ones you need.
Professional quality is expensive and has brighter colors than beginner quality.

Other materials
As for the other materials, there is the medium bottle that you will use to speed up the drying time and help make the paint shinier and more fluid.
There is also a solvent for diluting colors and washing your brushes; a bottle of oil for drying.
Finally, there is varnish to protect the paint, guarantee uniformity of shades and allow for touch-ups. But these are the supplies you will worry about later. For now, focus on gathering the essentials to get started.
How to get started in oil painting?
You’ve gathered everything you need and now you’re wondering how to actually get started. Well, there are a few steps you need to take before you put your brush on the canvas and let your imagination run wild.
I’ve broken up all the steps into phases, so it’s easier to explain.
Phase 1:
1. Choose your topic
If you are a beginner, start with easy and simple topics and over time you can gradually move on to more complex subjects.
As a simple subject, you can try to reproduce a photograph, draw still lifes, etc.
2. Prepare your supplies
Find a room with plenty of space for painting and take a table or easel to use as a base for your stand.
Place the brushes, medium, paint, and palette according to your convenience (on the right side of the support if you are right-handed and on the left side if you are left-handed).
Put a small amount of medium in a container where the brush will be soaked afterward. If the fibers of your new brushes seem to be glued together, use warm water to separate them.
3. Sketch your drawing
It is not mandatory but it will serve as a guide. Make a sketch on your support using a pencil or charcoal. If you use charcoal, use a spray fixative on the support.
If you don’t trust your pencil then use tracing paper or the grid technique. Concentrate on the big lines when sketching and don’t try to transfer every last detail to your painting.
4. Laying the base coat
The primer will provide a dry, crack-free paint and also guarantees the adhesion of the paint. If your subject is full of color, a white background will help to make the hues luminous.
As for the colored background, it will help to unify the painting. According to the purpose you wish to have (dark purpose, light purpose, warm purpose, and.), choose the background color that suits you.
You have to wait until the base coat is completely dry before you can continue, opt for acrylic paint as it dries quickly.
Phase 2: Implementation
There are two methods of painting: the traditional method and “painting alla prima” method.
We have seen that oil paint dries with difficulty and that it takes a long time. The traditional method is to wait for one coat of paint to dry before applying another, the drying time can take up to 2 weeks (!) for each coat.
The alla prima technique is faster because it means painting in one session. With this method, there is no need to wait for a coat to dry.
Applying layers of colors
As far as the coloring of your painting is concerned, it is done by superimposing layers of paint.
Start with the light and shade areas and keep in mind the main rule of oil painting: “paint fat on lean” which means that each new layer applied must be fatter than the previous one.
Make a strong dilution for the first coats and gradually decrease for the following ones. When applying layers, choose between the two techniques mentioned above.
That’s pretty much everything you need to know as a beginner to get started in oil painting. It doesn’t look so complicated or scary, does it?
Do you prefer to wait for each coat to harden before applying another, or do you prefer to do it all in one session? Let me know in the comments section down below!